Location-based naming
The Voice Memos app on the iPhone has the ability to name your recordings after your location. It’s not perfect though. For example, some podcast producers have accidentally emailed voice memo files with addresses. There is also the fact that some apps need to know your location in order to do their job. While there are privacy settings available, you should exercise caution when you are granting permissions for other apps to access your data.
Fortunately, you can turn off location-based naming for voice recordings. You will still be able to view your recordings and they will appear in your Voice Memos list. However, you will not be able to view them on other iOS devices unless you are signed into the same Apple ID. You can also delete them permanently. If you’re not keen on deleting them all, you might want to try syncing your Voice Memos with your iCloud account. You can then sync them to your other iOS devices using iCloud.
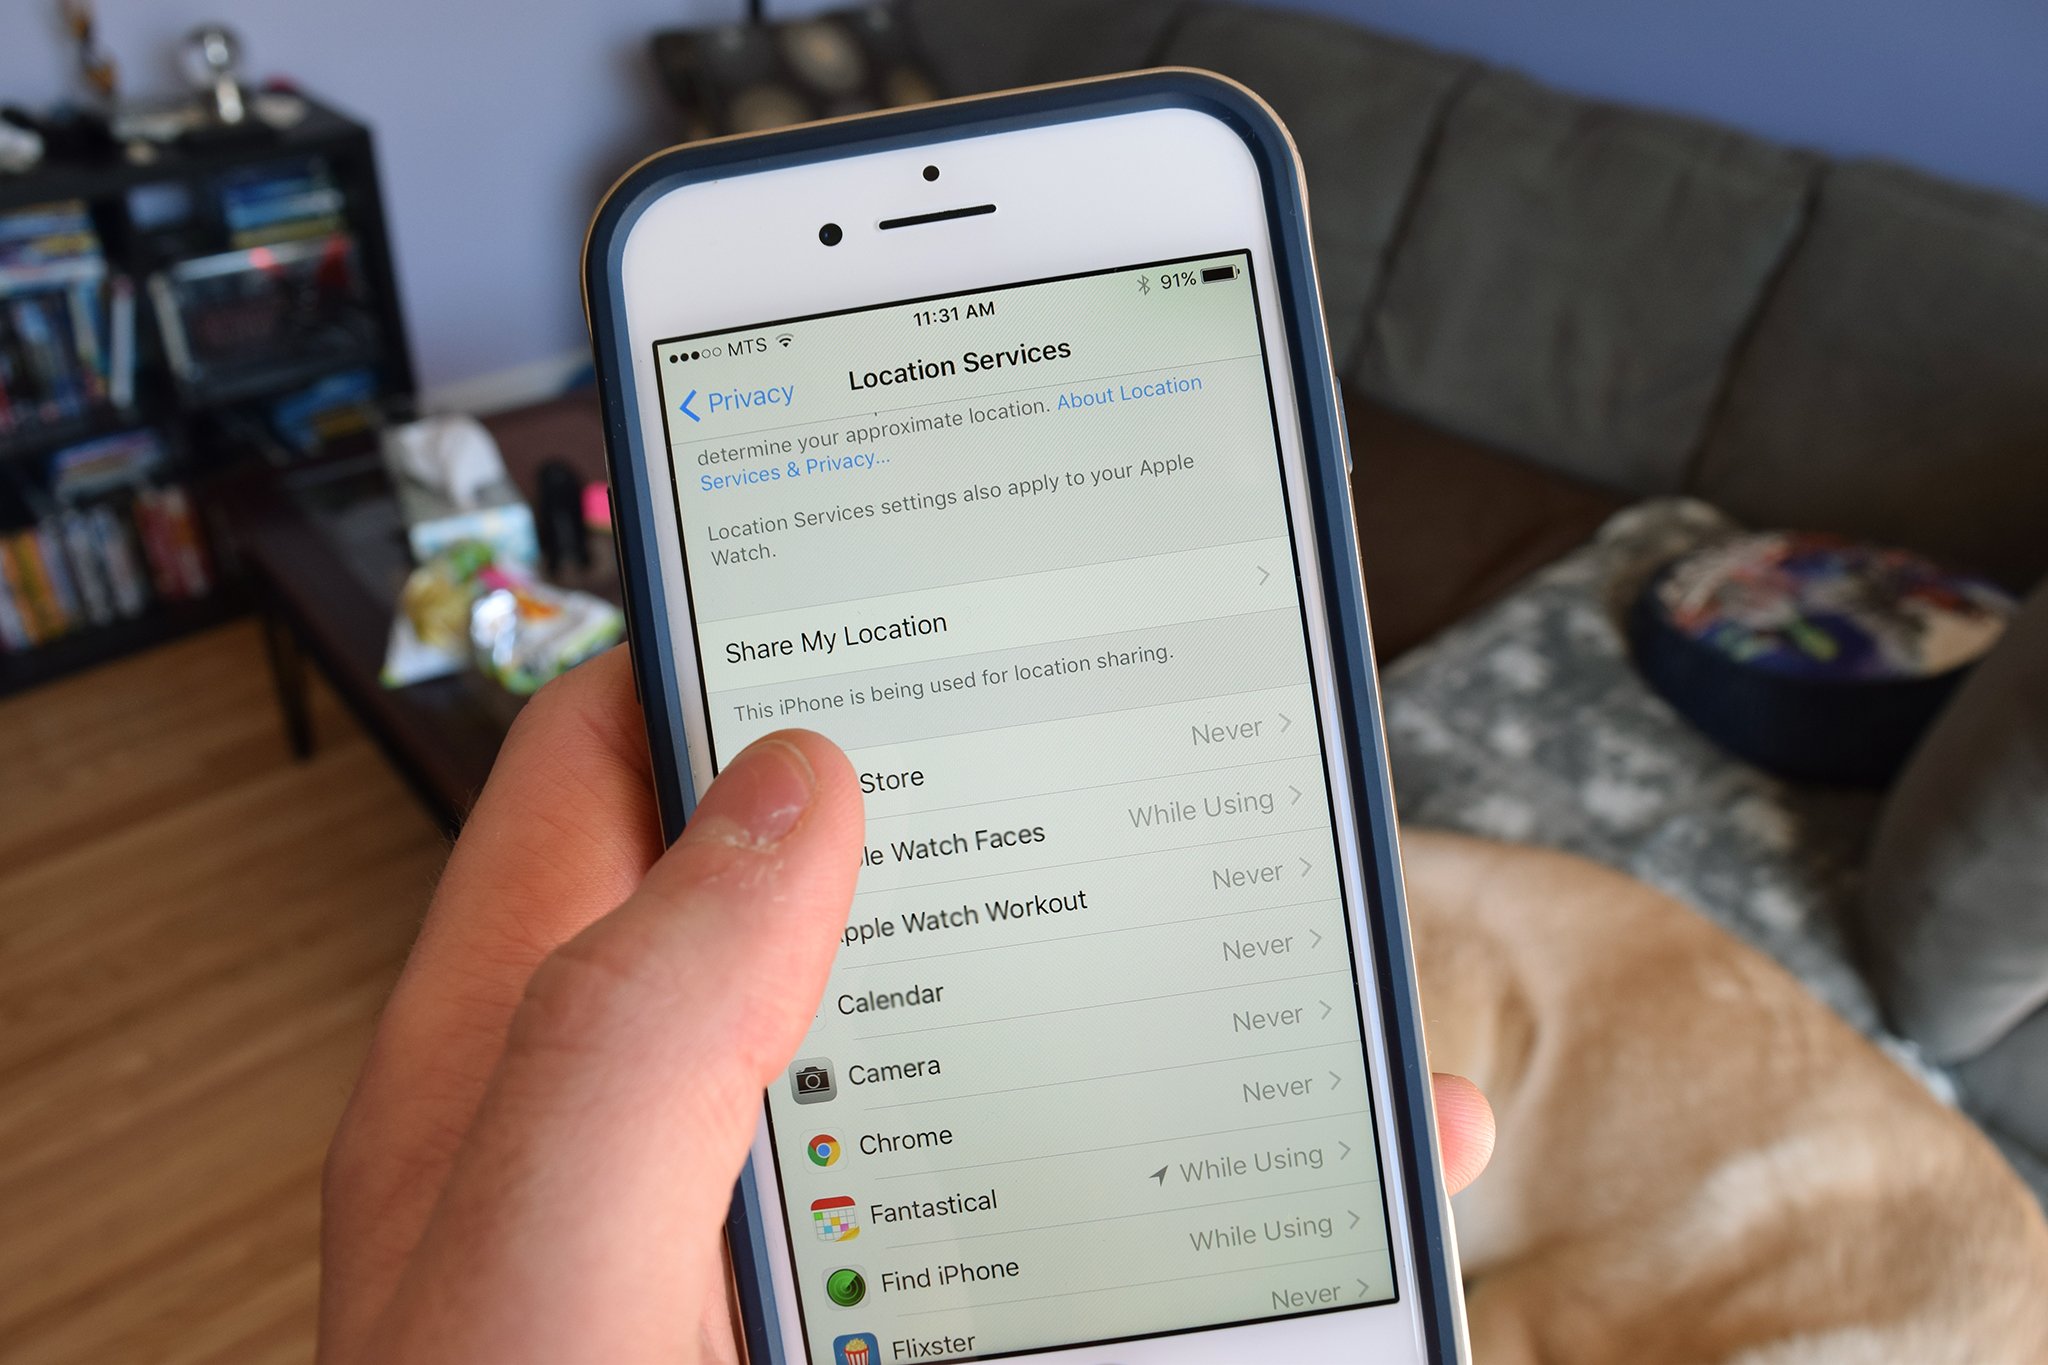
Interestingly, the Voice Memos app is part of the larger system location services. This allows it to show you all the built-in applications that use location. You can also change the location permissions for each one. It’s a useful feature to have if you use more than one app that needs your location. In this case, you may also wish to turn off location history, as it can be a nuisance. You can do so by going to Settings and changing the Location setting from “While Using” to “Never”. You might also like to use a different name for the location. For instance, if you’re recording a podcast, you might prefer to call it the podcasting location.
The Voice Memos app has a few other features. For instance, it can be configured to sync with iCloud, and you can also name your recordings by date. It can also display a nifty list of your most frequent locations. If you are a seasoned iPhone user, you probably already know how to manage your locations.
AirDrop file-sharing software
AirDrop is a file-sharing software that allows you to send files from your Mac or iPhone to any device that is compatible with the protocol. It is available on iOS 7 or later, as well as on Macs running OS X Yosemite or later. It uses Bluetooth and Wi-Fi to communicate with other devices. You can send photos, music and videos from the Camera app or Music app on your iPhone to another Apple device, and you can send web pages from your browser. If you’re having problems with AirDrop, there are a few things you can do to try and resolve the issue.
In order to use AirDrop, you’ll need to turn on the feature, and you’ll need to make sure that your devices are in the same Wi-Fi network. You’ll also need to make sure that you have the proper sharing permissions for each of your devices. You can check to see if your iOS devices are compatible with AirDrop by checking the Home screen. If you’re having trouble with AirDrop, resetting your network settings may help.
If you’re using a Mac, you can invoke AirDrop by clicking on the top-left Control Center section. This will open a window that will allow you to choose the file you wish to send, and you can then drop it onto the window. The recipient will then receive a notification that you want them to check. You can choose to accept or decline the request, which will save the file to the Downloads folder on your Mac. You can change the default name of your device, or you can opt for Contacts Only or Everyone.
If you don’t have the option to share with Everyone, you can instead send your files to Contacts Only. This will only display your AirDrop devices to people in your contact list. If you’re not in your contact list, you can also opt to share files with anyone, which will display your devices to all Apple devices in the vicinity.
You can also use the Share icon in different places on the screen. For instance, you can find the Share icon in the sidebar, in the Finder window, or on the iPhone. To open the Finder, you can either press the Command + Coma keys or go to the menu bar and choose Finder. You can then look for the Downloads folder on your Mac, which is located next to the Trash in the Dock.